



Medicine Cabinet Rough Opening Guide: What to Confirm Before Cutting the Wall
Time : September 24, 2026 View : 29
A recessed medicine cabinet can create a clean wall plane and useful storage, but the critical work happens before cutting. If the opening is based on nominal cabinet size instead of approved dimensions, the installer may face gaps, insufficient cavity depth, framing conflicts, or a misplaced electrical entry. The safest sequence is simple: confirm the drawing, confirm the wall, then cut.
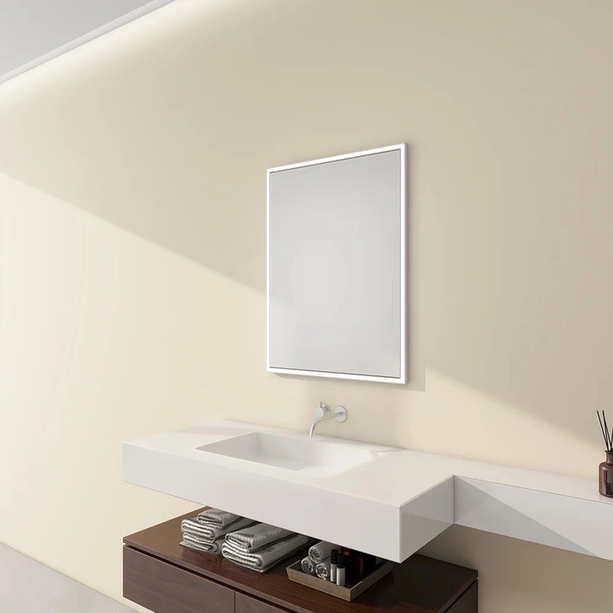
What Is a Medicine Cabinet Rough Opening?
The rough opening is the prepared wall cavity that receives the cabinet box. It is not automatically the same size as the mirror face or overall product dimensions.
Overall Size vs Cabinet Box Size vs Rough Opening
Three measurements should be separated at the start:
|
Measurement |
What it describes |
Why it matters |
|
Overall size |
Visible exterior width and height |
Coordinates with the vanity and wall |
|
Cabinet box size |
Body entering the wall cavity |
Determines physical fit |
|
Rough opening |
Prepared wall opening |
Controls cutting and framing |
A mirror or door face may be larger than the recessed body, so visible dimensions are not a safe cutting reference.
Why the Approved Drawing—not Nominal Size—Controls the Cut
A cabinet described as 30 inches wide may not require a 30-inch opening. Door overlap, mounting method, and tolerance can change the cutout.
Use the latest approved drawing for the exact model and mounting configuration. Confirm overall dimensions, cabinet-box dimensions, rough opening, mounting points, and electrical entry where applicable. If the drawing revision changes, verify the site dimensions again.
What to Confirm Before You Mark the Wall
Measurement alone is not enough. The team must also understand the wall cavity and finish buildup.
Cabinet Box Width, Height, Depth, and Required Opening
Start with cabinet-box width, height, depth, and the specified opening. Do not estimate one from another.
Before cutting:
- Confirm the model and drawing revision.
- Verify opening width and height.
- Check usable cavity depth.
- Locate mounting points and required support.
- Align the cabinet centerline with the vanity or basin.
This avoids cutting first and trying to make the product fit afterward.
Stud Bay, Cavity Depth, and Hidden Obstructions
Identify studs, pipes, wiring, ducts, blocking, and other obstructions. The cavity needs enough clear space for the recessed body without forcing unplanned structural or service changes.
If framing conflicts with the cabinet body, stop and review the approach before altering the wall.
Electrical Entry and Service Access for Lighted Cabinets
For a lighted cabinet, coordinate power before finalizing the opening. The electrical entry should suit the exact cabinet configuration and remain practical for installation and service.
For example, Eternamir Bath EMI.842 DS supports surface and recessed mounting. Its model-specific configuration includes a double-sided copper-free mirror with safety backing, fingerprint protection, a rust-resistant matte silver aluminum cabinet body, soft-close hinges, and UL hardwire availability. The opening and electrical entry should still follow the approved drawing for the ordered configuration.
How to Measure and Frame the Opening Without Guessing
The goal is to create the correct opening around verified dimensions and actual wall conditions.
How to Measure a Recessed Medicine Cabinet Opening
Begin with the required opening on the drawing. Transfer the centerline to the wall, then mark width and height from that reference. Check the marks with a level.
Account for tile, backer board, or decorative panels because they can change how the cabinet meets the finished wall.
How to Frame a Recessed Medicine Cabinet Around the Approved Dimensions
Framing should support the cabinet while preserving the required opening. Wall construction varies, so there is no universal stud or header formula.
Treat the drawing dimensions as fixed and the framing solution as project-specific. If structural work is required, it should be reviewed by a qualified professional rather than improvised on site.
Dry-Fit and Tolerance Check Before Final Fastening
Before final fastening, dry-fit the cabinet body. Confirm that it enters freely, sits square, and aligns with the finished wall plane.
A quick comparison is useful:
- Too tight: the box may bind or become difficult to level.
- Too loose: support and edge concealment may become inconsistent.
- Correct fit: the unit can be positioned and fastened as intended.
Do not assume a universal tolerance. Use the requirement for the selected model.
Project Coordination Checks That Prevent Rework
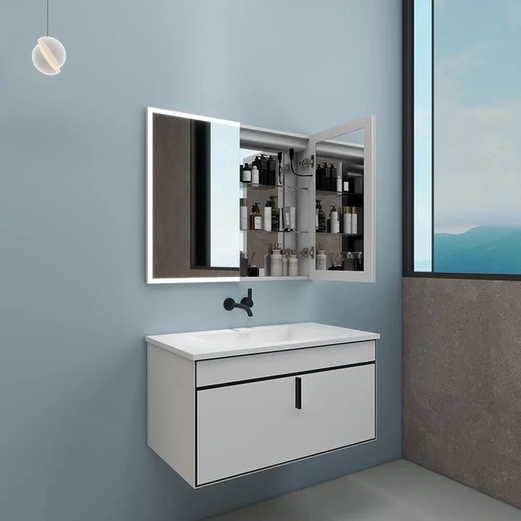
Opening problems often come from missed relationships between the cabinet, vanity, finishes, and building services.
Vanity Centerline, Door Swing, and Finish Thickness
Coordinate the cabinet with the full wall elevation. Check the vanity or basin centerline, faucet location, adjacent walls, door swing, and tile buildup.
Consider a project scenario: the opening is centered on the framing plan, but the vanity shifts during plumbing coordination. The cut may then look off-center. Catching that early avoids patching and reframing.
When to Stop and Reconfirm the Drawing or Wall Condition
Do not cut yet if:
- Product size and rough-opening size are being treated as identical without confirmation.
- A stud, pipe, cable, vent, or structural member conflicts with the opening.
- The cavity is too shallow.
- Electrical entry is unclear.
- Finish thickness has not been coordinated.
- The site drawing does not match the approved revision.
At that point, clarification is safer than field improvisation.
What Eternamir Bath Project Teams Should Confirm Before the Wall Is Cut
A clean recessed installation depends on accurate information moving between design, production, procurement, and the site team.
What to Send Before Production or Site Installation
Before production or installation, send the selected model or configuration, overall dimensions, wall construction, available cavity depth, mounting method, electrical requirements where applicable, project elevation, quantity, and room type.
At Eternamir Bath, we support hospitality and residential mirror and medicine cabinet projects, with an in-house R&D team and customization capability. Our manufacturing process includes full pre-shipment inspection, while electrical components such as LED strips and drivers are subject to aging tests. These capabilities support project coordination, but they do not replace model-specific drawings or site verification.
For projects still selecting a configuration, review our recessed mount medicine cabinets before releasing the opening for construction. For later installation steps, see our recessed medicine cabinet installation guide.
FAQ
Q: What is the rough opening for a recessed medicine cabinet?
A: There is no single rough-opening size for every recessed medicine cabinet. Use the dimensions shown on the approved drawing for the exact model and mounting method. Do not use visible mirror dimensions as the wall-cutting dimensions.
Q: How do I measure a recessed medicine cabinet before cutting the wall?
A: Confirm cabinet-box width, height, and depth, then use the specified rough opening as the cutting reference. Check cavity depth, framing conflicts, pipes, wiring, and finish buildup before marking the wall.
Q: How do I frame a recessed medicine cabinet?
A: Frame around the approved opening dimensions and mounting requirements. Since stud layouts and wall systems vary, there is no universal framing arrangement. Structural changes should be reviewed by a qualified professional.
Q: Can you put a recessed medicine cabinet in an outside wall?
A: It may be possible, but exterior walls can involve insulation, vapor-control layers, structural requirements, and limited cavity depth. Confirm the wall assembly and cabinet requirements before cutting.
Q: Can I install a recessed medicine cabinet without studs in the right position?
A: Do not remove or relocate framing simply to make the cabinet fit. If the stud layout conflicts with the required opening, confirm the cabinet dimensions and review the framing approach. A different cabinet size or mounting method may be a better solution.
