



Custom Makeup Mirror Manufacturing: Size, Finish, Magnification, Lighting, and Sample Approval
Time : October 01, 2026 View : 19
Successfully manufacturing a custom makeup mirror requires strict planning long before production begins. For private-label brands, designers, and importers, turning a visual concept into reality means developing a highly controlled specification for standalone mirrors. This essential workflow ensures every product choice remains testable and repeatable. By systematically defining the size and geometry, selecting the ideal magnification, locking in the finish and lighting configurations, and finalizing the sample approval, buyers can confidently limit late changes. Ultimately, this structured sequence perfectly separates true custom development from generic product comparisons.
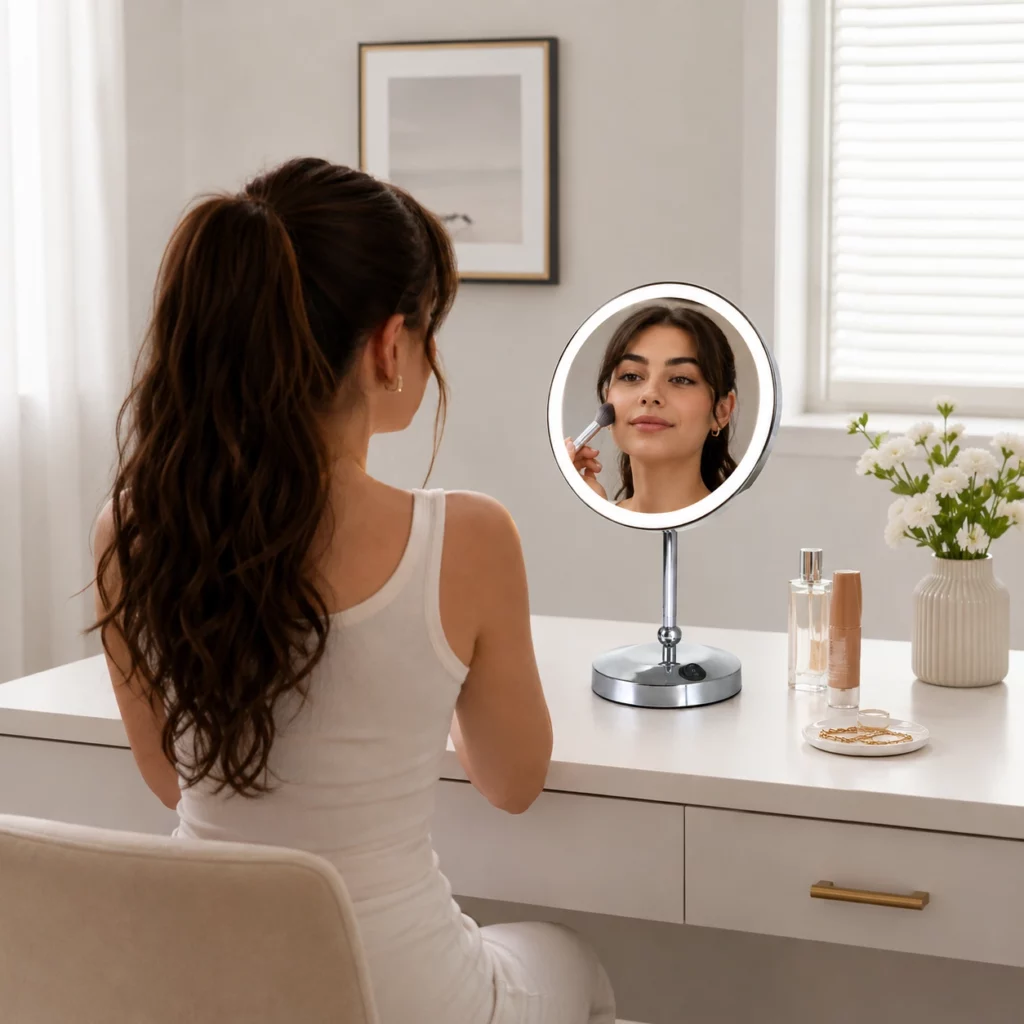
Freeze the Product Architecture Before Styling
Set Size and Geometry
Record the required mirror face diameter or width, overall height, base footprint or wall plate, arm reach, and folded and extended envelope. Choose the face for the vanity, working distance, and mounting type. Put finished dimensions on a drawing instead of relying on a photograph.
Separate nominal face size from usable viewing area. The same round diameter can produce a different view when the bezel, frame, or pivot changes. Ask the supplier to mark critical dimensions, mounting datum, screw positions, cable exit, and arm clearance on the drawing.
Define the Arm, Base, and Movement
Choose support architecture with the size. A countertop model needs a stable base; a wall-mounted model needs a plate, arm span, and folded position that fit the wall zone. Specify tilt, swivel, extension, or double-arm movement and identify which positions the sample must demonstrate.
During development, extend the arm, rotate the face, tilt it through the working angle, and fold it back. Check clearance from the wall, backsplash, tap, and adjacent cabinet.
Eternamir Bath’s custom makeup mirror range includes tabletop and wall-mounted examples. Use the product page to select a starting architecture, then confirm which dimensions and movements are available for the exact SKU.
Approve Magnification and Optical Samples
Match Magnification to the Required Task
Magnification should answer a task. A 1x face supports a normal reflection and broad view; 3x or 5x can support closer makeup or grooming; 10x is a specialised close-up option that fits a shorter working distance. Record the requested combination, which face carries each power, and whether the user must rotate the mirror to change views.
The long-tail question “what magnification is best for makeup mirror” depends on distance and task. Ask for the target user, expected face-to-mirror distance, and acceptable transition between normal and magnified faces. A higher number is not automatically the better choice.
Evaluate Optical Clarity
Approve magnification from a physical sample. Inspect it at the expected distance, move the viewing point across the useful area, and check edge usability, image clarity, face alignment, and pivot position. For a two-sided mirror, record which side is standard and which is magnified.
Eternamir Bath provides 1x, 3x, 5x, and 10x configurations and 7-inch or 8-inch round faces.
Lock the Lighting and Electrical Configuration
For custom makeup mirrors, lighting must be specified in tandem with the mirror’s core architecture. Be precise: document whether the unit is lighted, the specific LED placement or treatment, the type of switch, the power entry point, cabling requirements, and the mounting method. A countertop lighted mirror—like a freestanding brass model with a rocker switch—will have vastly different cabling and switch needs compared to a hardwired, wall-mounted model. It is also critical to confirm the electrical and safety requirements for your destination market with a responsible technical party (e.g., ensuring UL certification).
The product portfolio from Eternamir Bath provides excellent documented examples of these configurations. For instance, our wall-mounted models (like the EWM-002 series) feature built-in LED halo lighting, hardwired installations, and moisture-proof, rust-resistant construction suitable for damp bathroom environments. Conversely, our lighted countertop models (like the EWM-601 and EWM-602B) offer free-standing stability combined with practical rocker switches and bright LED illumination for detailed grooming.
When reviewing your sample, always check the illuminated face, the switch action, the cable exit, and installation access in its intended final position. Only list advanced features like specific brightness (lumens), color temperature (e.g., 2700K to 6000K), dimming capabilities, or memory controls after the supplier confirms the selected model natively supports them. Leaving lighting requests unwritten or vaguely defined makes them nearly impossible to enforce during production.
Move from Prototype to Golden Sample
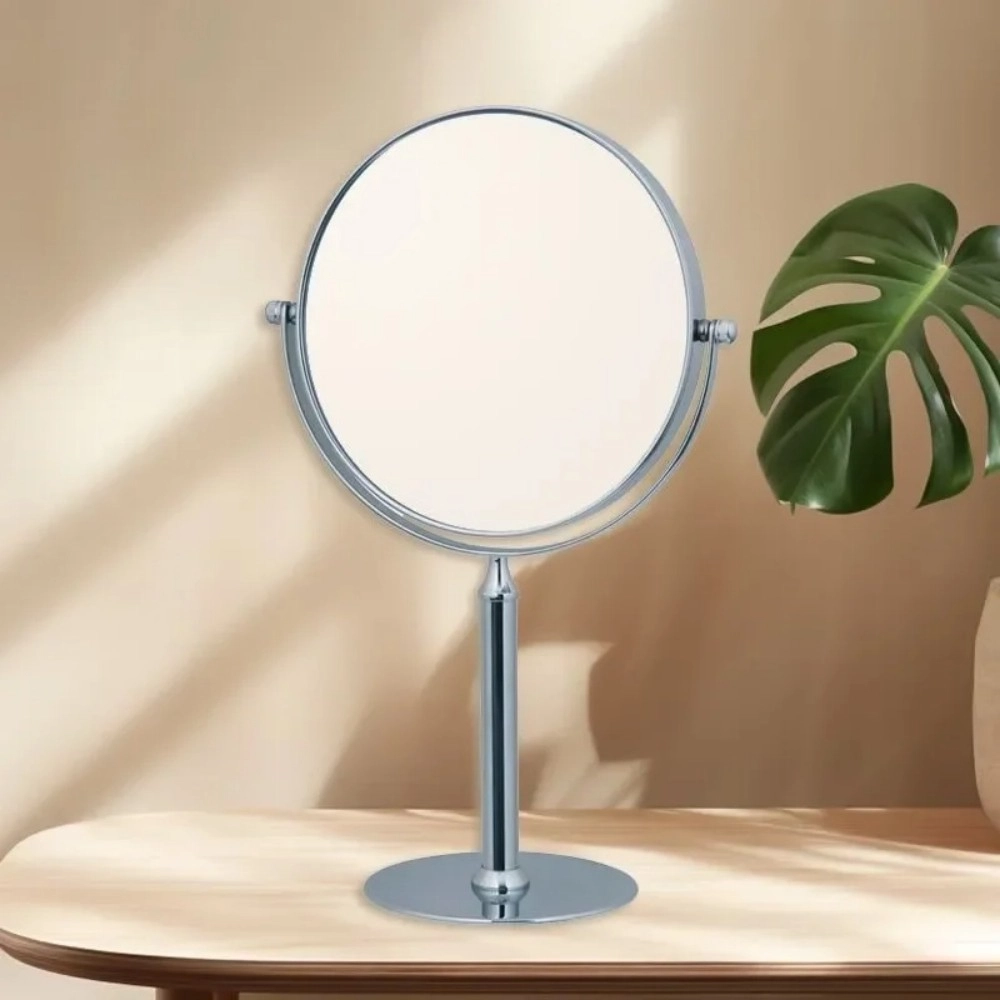
Consolidate the Brief into a Sample Pack
The initial sample should be accompanied by a comprehensive “pack”: the approved dimensional drawing, the physical finish reference, the exact optical description (magnification and orientation), lighting and electrical specifications, mounting details, packaging assumptions, and any pending questions. Label every item by its SKU or configuration, ensuring details like face arrangement, arm/base style, finish, and power method are clearly noted.
To maintain transparency during the review process, use a structured approval matrix:
*Geometry:Check the face size, footprint, arm reach, folded clearance, and mounting datum against the signed drawing.
*Optics:Verify the magnification, viewing area, and image consistency.
*Finish:Match the substrate, sheen, and color reference to the physical finish sample.
*Lighting:Confirm the LED treatment, switch type, and power method.
*Assembly:Test the movement, fasteners, and packaging fit.
Record Approvals and Manage Changes
Always review the assembled sample in its actual use position—not just flat on a factory inspection table. Mark the accepted elements and any required changes, then issue a single, dated “golden sample” record that links the drawings, images, and notes together.
Remember that any change to the finish, magnification, arm structure, switch, or cable necessitates a new approval point. Clearly identify superseded files so that purchasing departments cannot accidentally release an outdated version to the factory floor. Before moving to production, confirm final details such as the Minimum Order Quantity (MOQ), tooling responsibilities, finish availability, and market-specific electrical requirements. This ensures the custom mirror is a repeatable product rather than a risky, one-off prototype.
Release Production Against the Approved Record
When authorizing production, the release order must reference the golden sample by its exact SKU, revision number, and date. The purchase order should explicitly restate the approved geometry, finish, magnification, electrical configuration, and the status of the sample approval. (Note: Keep packaging and labeling specifications separate from the core product record).
At the handoff stage, require the supplier to confirm exactly what remains unchanged and what, if anything, is newly introduced. For projects with higher stakes, recheck a “production-intent” unit against the signed record before mass manufacturing begins. When working with experienced manufacturers like Eternamir Bath, you can direct a highly specific request—detailing target size, mounting type, finish, magnification, lighting, quantity, and destination market—to ensure the final product matches your exact standards.
Frequently Asked Questions (FAQ)
Q: What must a custom makeup mirror specification include?
A: A complete specification must detail the face size, overall envelope, wall/base interface, movement capabilities, magnification, substrate, finish, lighting/switch details, power method, and packaging assumptions. Always have the supplier confirm which features are standard for the SKU and which require custom development.
Q: What is the best magnification for makeup mirror projects?
A: The ideal magnification depends entirely on the working distance and the specific task. A 1x mirror provides a broad, standard view, while 3x or 5x (like the EWM-112 or EWM-002 models) is excellent for closer grooming. 10x magnification (like the EWM-601) is a specialized option for extreme close-up work. Always test the physical optical sample at the intended distance.
Q: How do I properly approve a countertop lighted makeup mirror?
A: Review the assembled unit in its intended setting. Check the base stability, magnification clarity, LED appearance, switch functionality, and ensure the finish is applied to the correct substrate. Record the SKU and revision, and only finalize requirements for brightness or dimming if the supplier confirms the model supports those features.
